Feature spotlight
Import manifest
Accelerate item intake by downloading standard manifest templates, uploading completed files for automated item processing, and converting web scraped items into draft inventory via rapid LPN barcode scanning and lookup.
Step 1: Navigate to Web Scraping & Open Import Manifest Tab
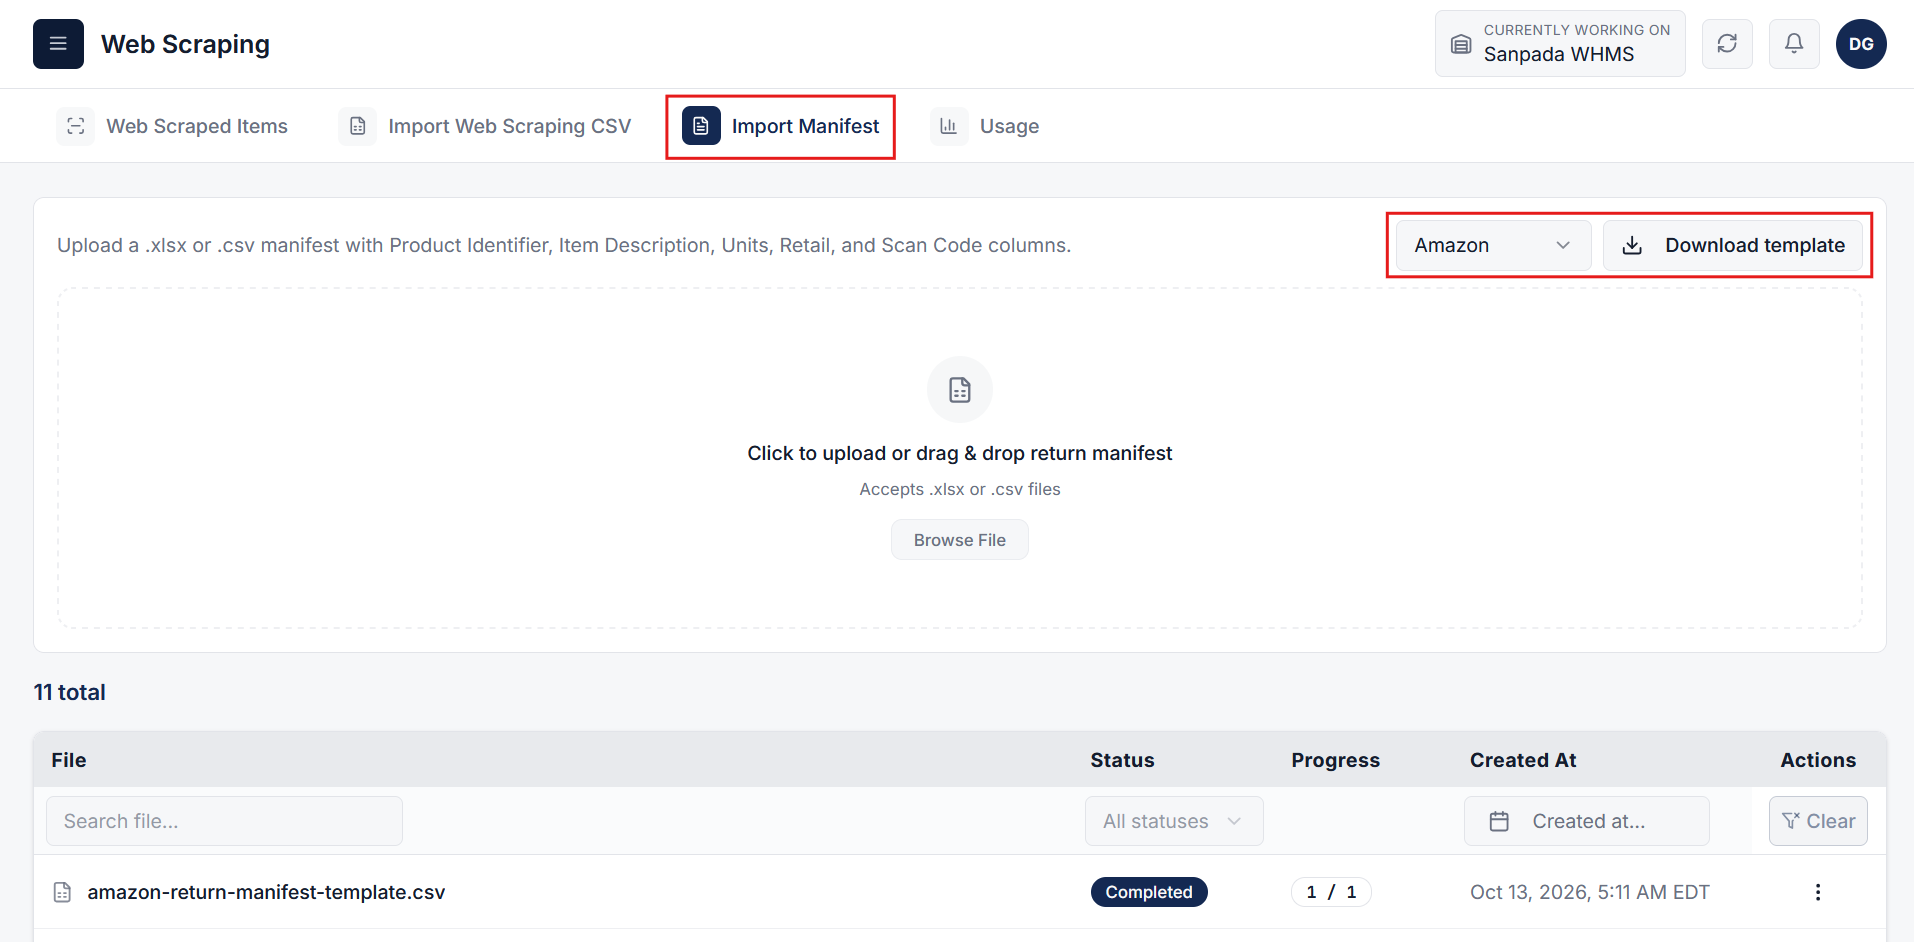
Go to the Web Scraping page located under the Warehouse section in the main navigation menu.
Switch to the Import Manifest tab to access the manifest intake interface, template downloads, and manifest upload history.
Step 2: Select Template Type & Download Template
Select the desired Template Type from the dropdown menu to match your supplier or inventory format.
Click on the Download Template button to download the standardized manifest spreadsheet template with the pre-configured column structure.
Step 3: Upload Manifest File & Process Items
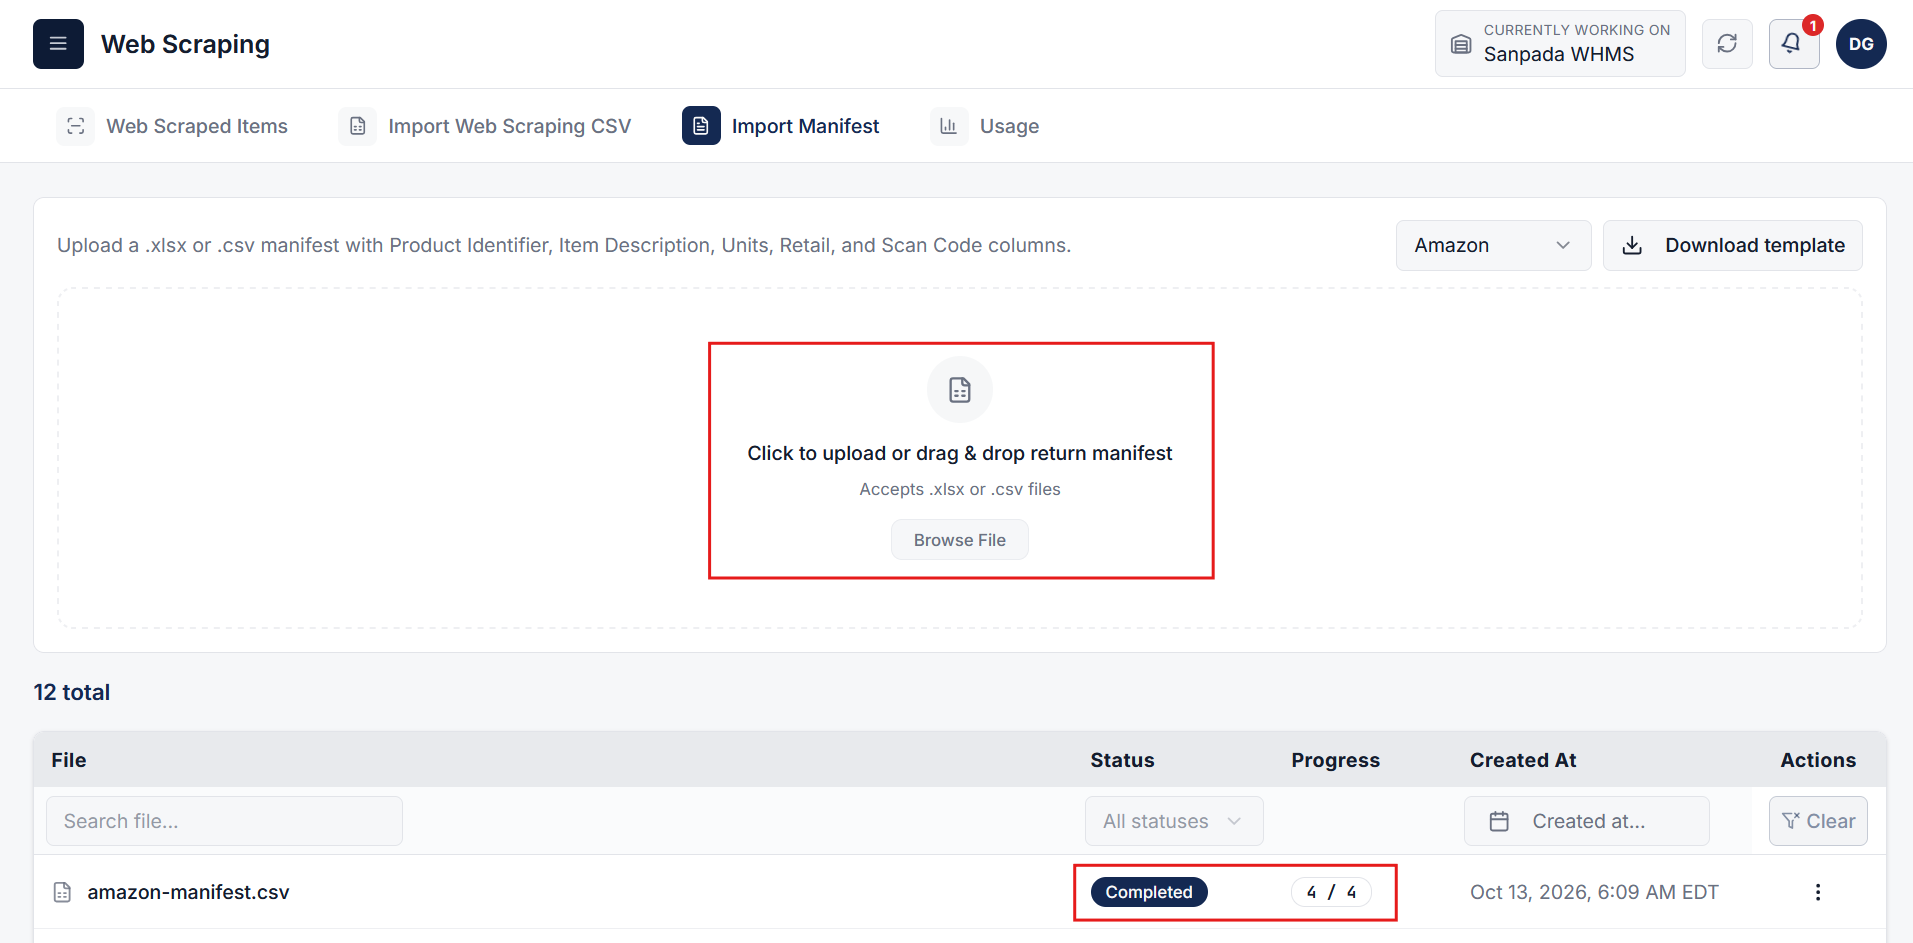
Prepare your manifest file by populating item details according to the downloaded template structure.
Upload the completed manifest file using the file upload area. Once submitted, the system automatically begins processing all items in the background. Monitor the upload table until the processing status updates to Completed.
Step 4: View Manifest Results & Inspect Parsed Items
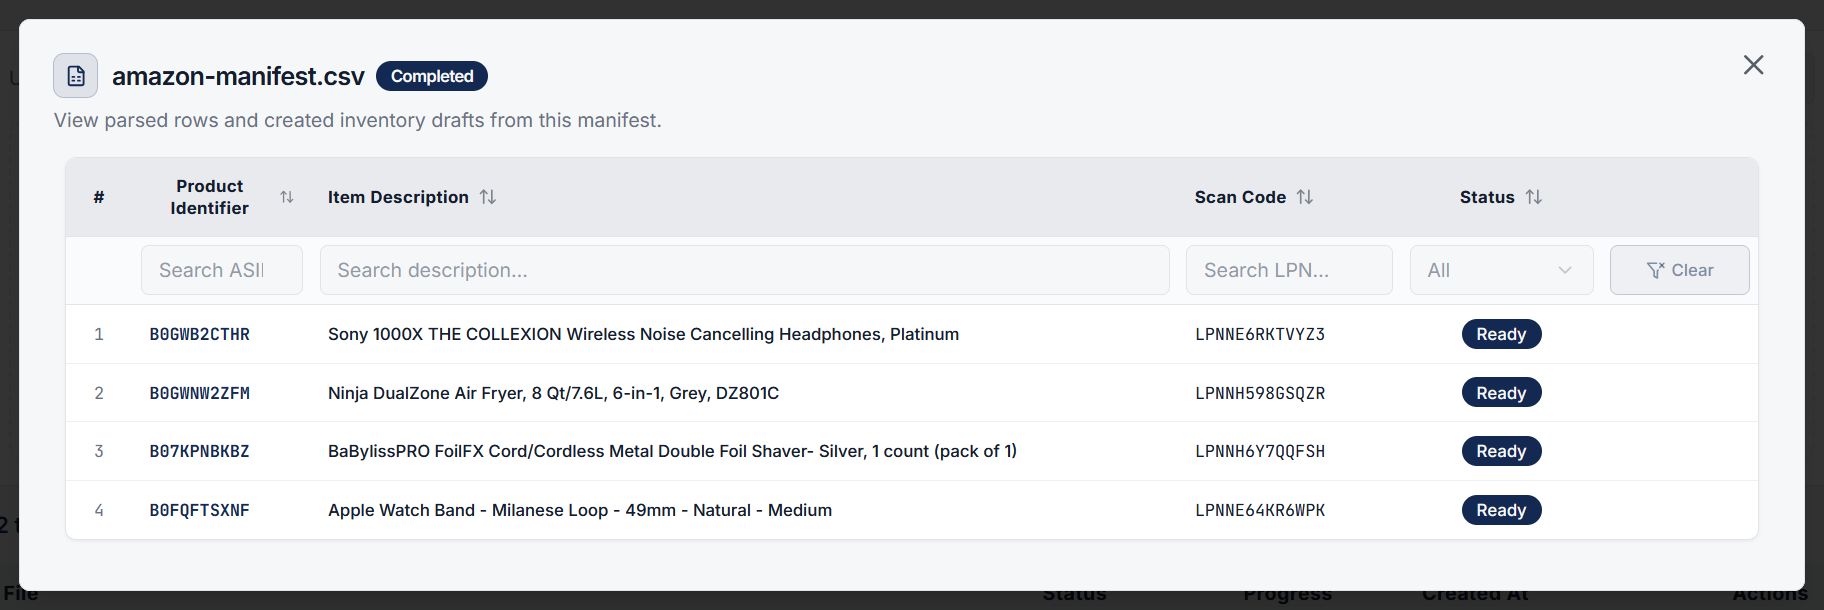
Once the manifest status displays Completed, locate the manifest record in the list.
Click on the three dots (...) button in the Action column and select Result to view the comprehensive list of all processed items and their extracted manifest attributes.
Step 5: Navigate to Web Scraped Items & Start Scraping
Navigate to the Web Scraped Items view from the manifest results or web scraping dashboard.
Click the Start Scraping button to launch the scraping intake lookup modal.
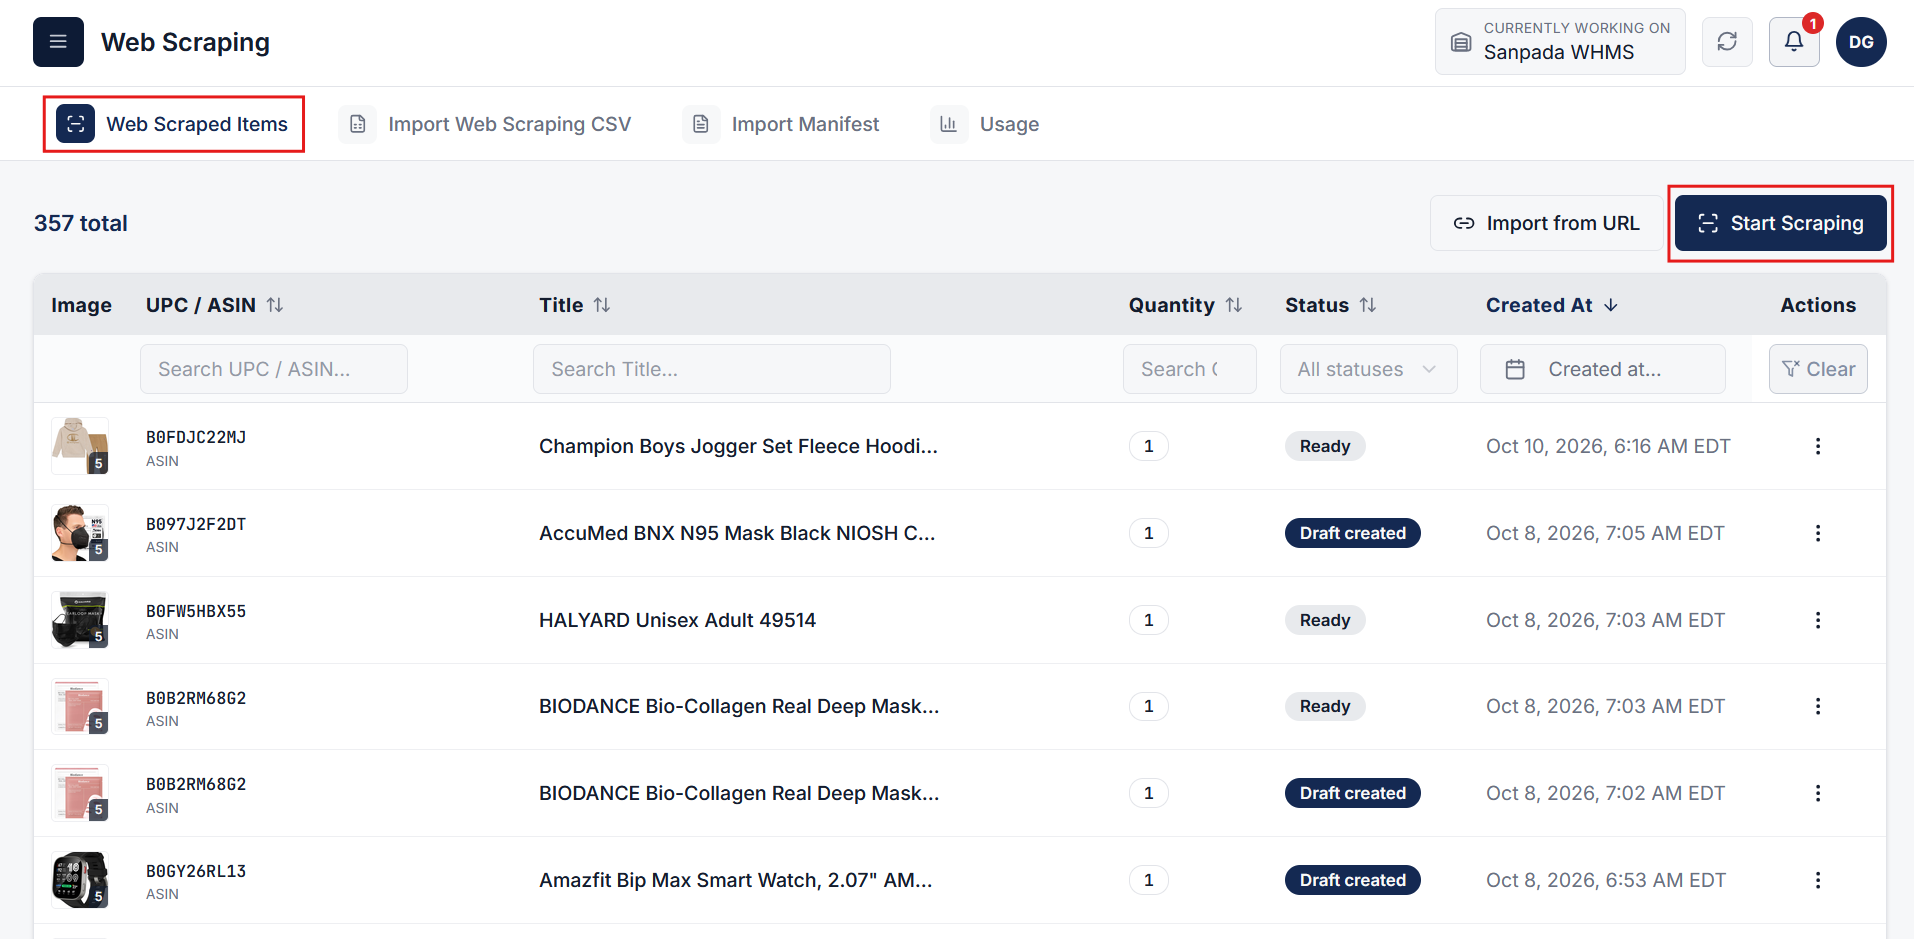
Step 6: Look Up Product by LPN Code
In the lookup popup modal, locate the product using one of three flexible input methods:
- Scan Barcode: Scan the physical product LPN barcode or QR code using a connected barcode scanner or mobile device camera.
- Upload LPN: Upload an image containing the product's LPN barcode.
- Manual Entry: Manually enter the product's unique LPN code into the input field.
Click the Look Up button to search and retrieve the scraped product data from the catalog.
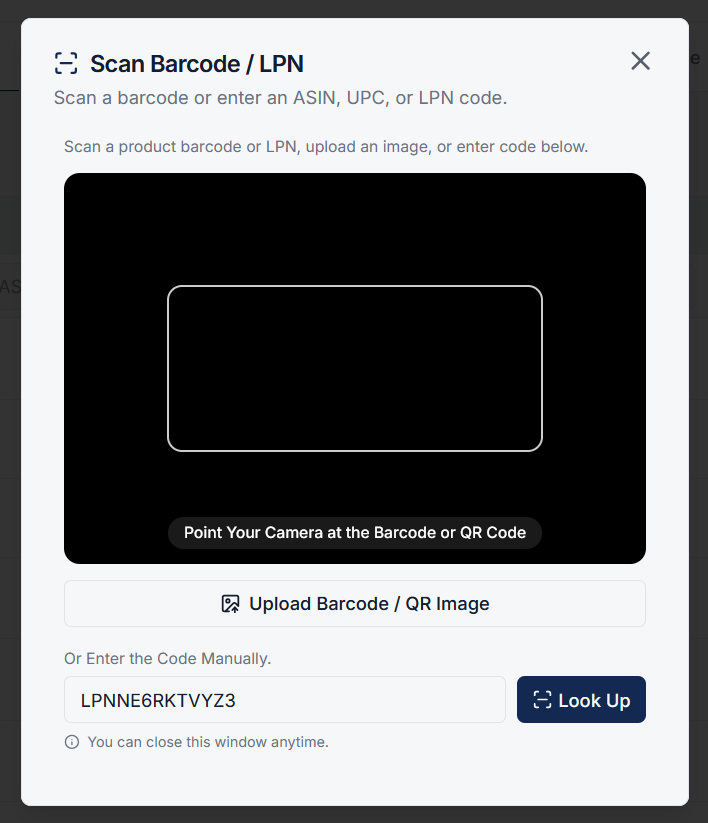
Step 7: Confirm Scanned Product Details & Proceed
Verify the retrieved product title and item preview displayed in the confirmation dialog to make sure the correct product was identified.
Once verified, click the Proceed button to transition directly to the inventory creation screen with the scraped details.
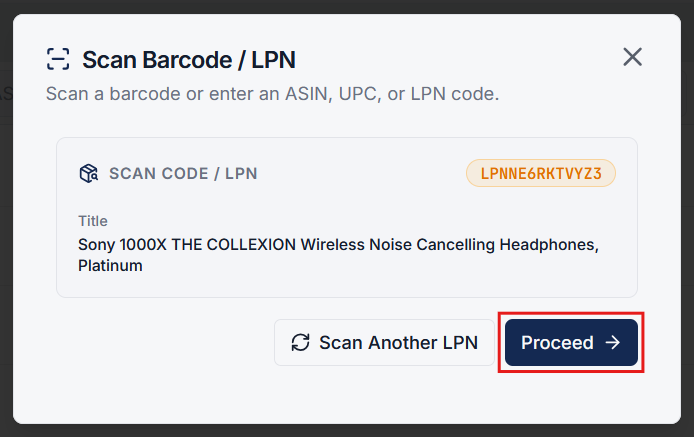
Step 8: Populate Inventory Details & Create Draft Inventory
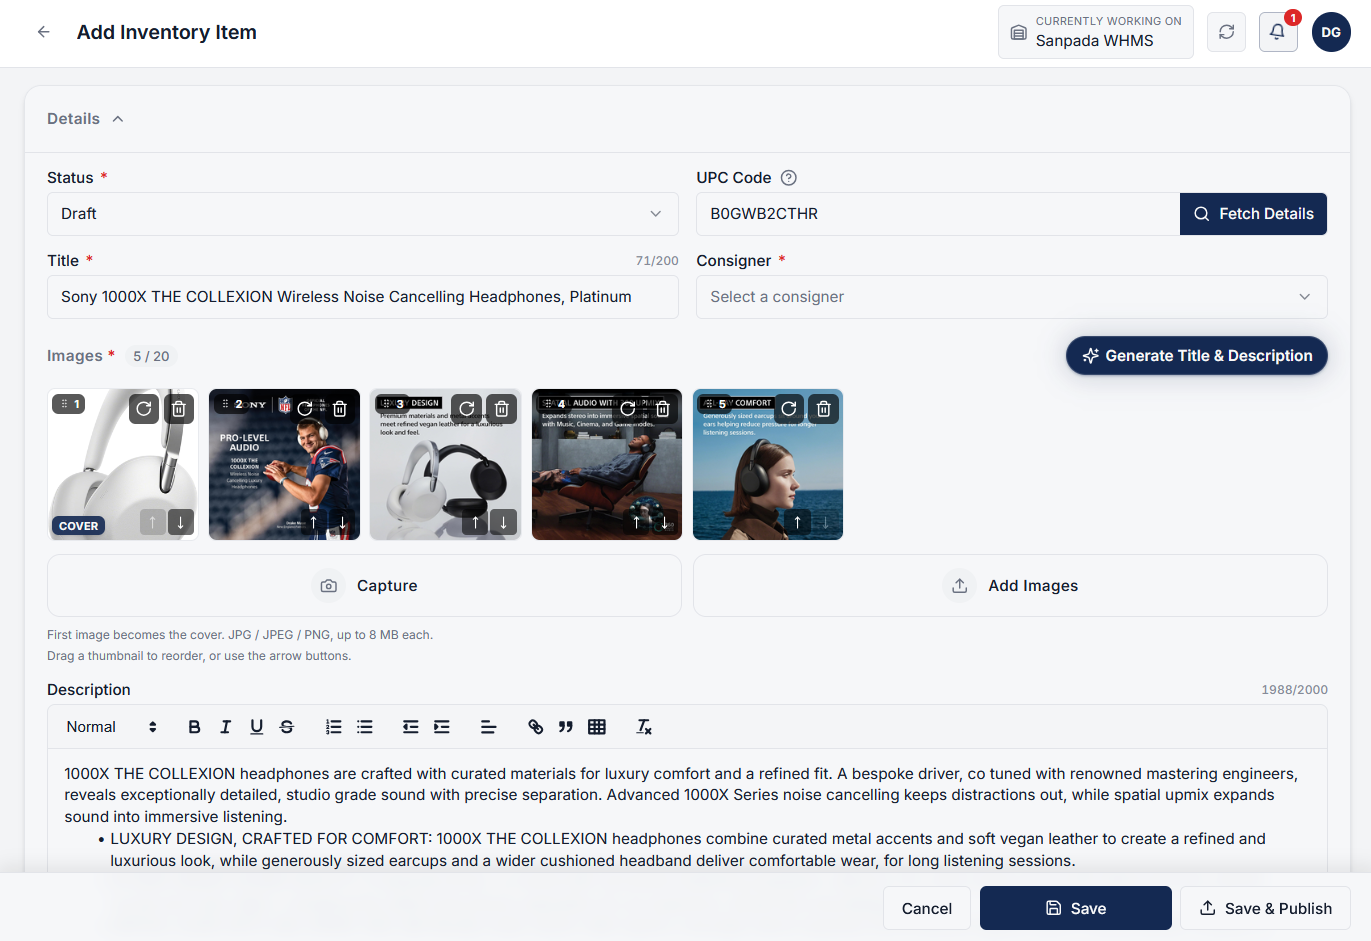
The Add Inventory page will open pre-populated with the scraped product's Title, Image(s), and Description.
Review the pre-filled information, specify additional inventory parameters (such as condition, category, storage location, and custom fields), and click the Add Quantity button.
A draft inventory record will be created for the product, ready for warehouse fulfillment and stock management.