Feature spotlight
Delivery appointments
Schedule inbound and outbound delivery time slots to ensure efficient warehouse loading dock utilization.
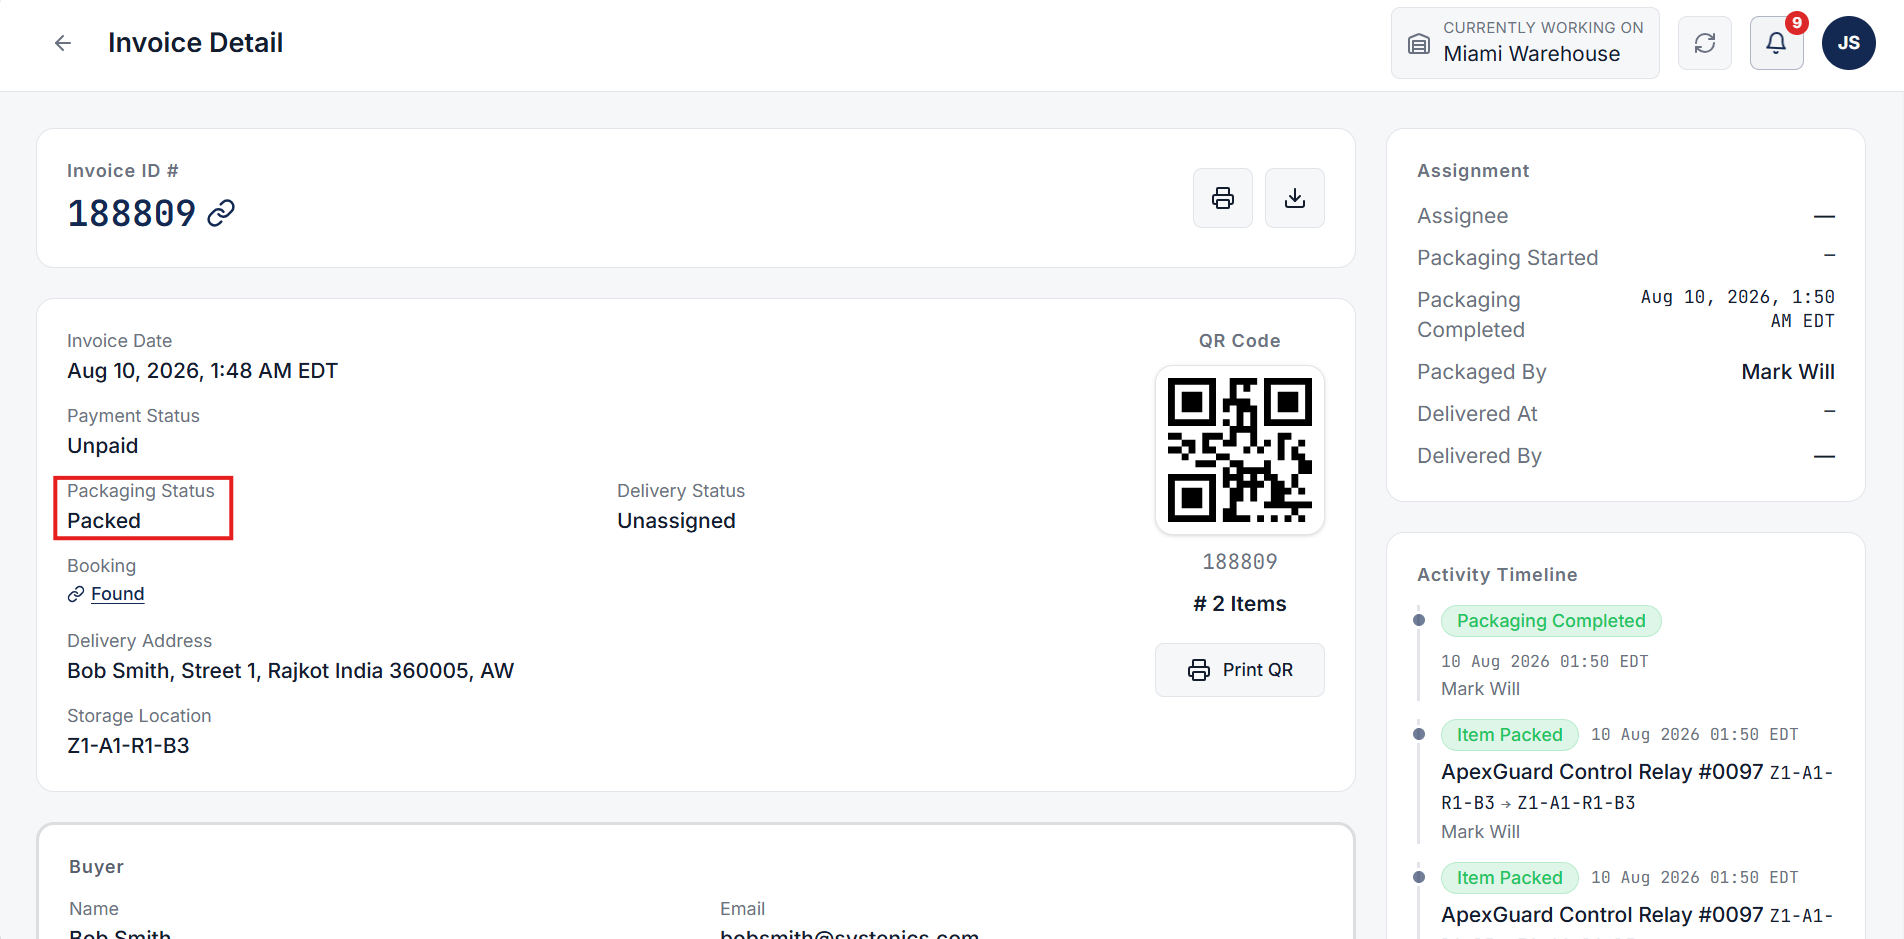
Step 1: Complete Invoice Creation & Item Packaging
Before assigning items for delivery, ensure that the invoice has been created and packaging is completed for all items included in the invoice. Once these prerequisites are met, the items become ready to be assigned for delivery.
Step 2: Navigate to Delivery Appointments
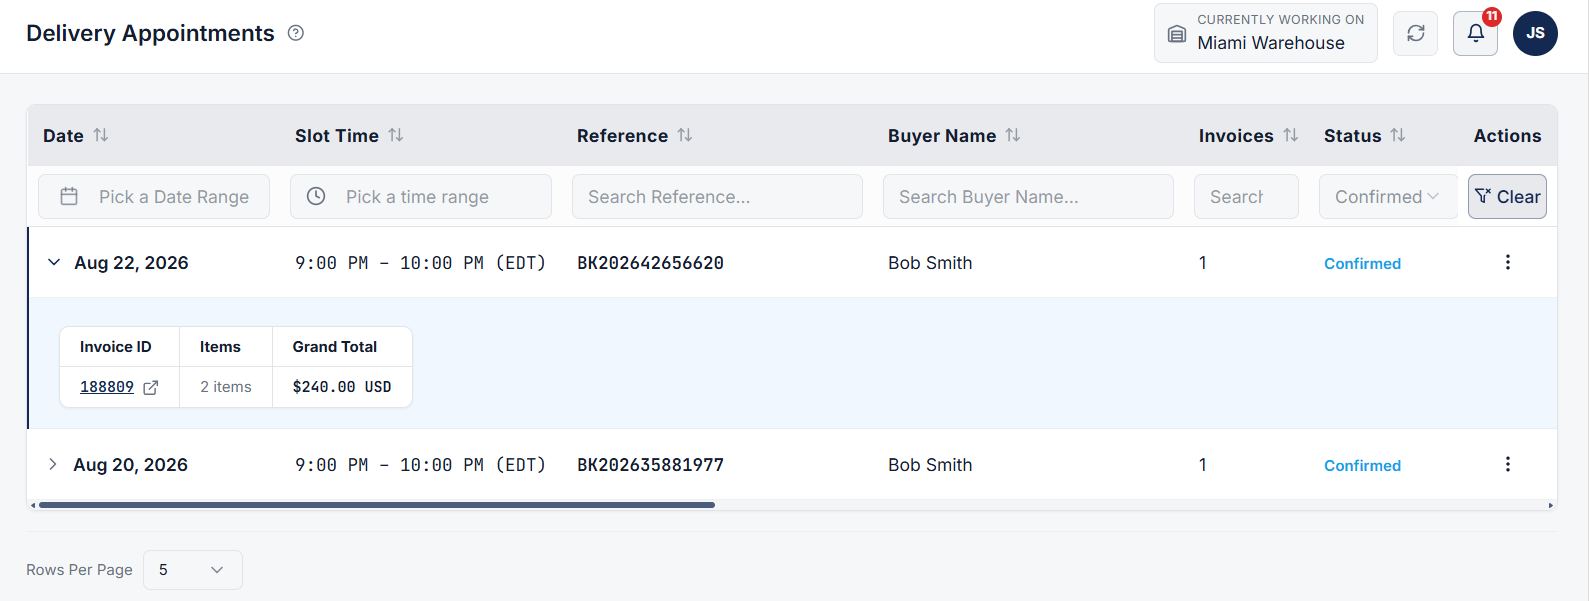
When a buyer schedules a delivery appointment, it will appear on the Delivery Appointments page.
From the main navigation menu, go to the Delivery Appointments page to view all scheduled appointment records.
Step 3: Access Action Options
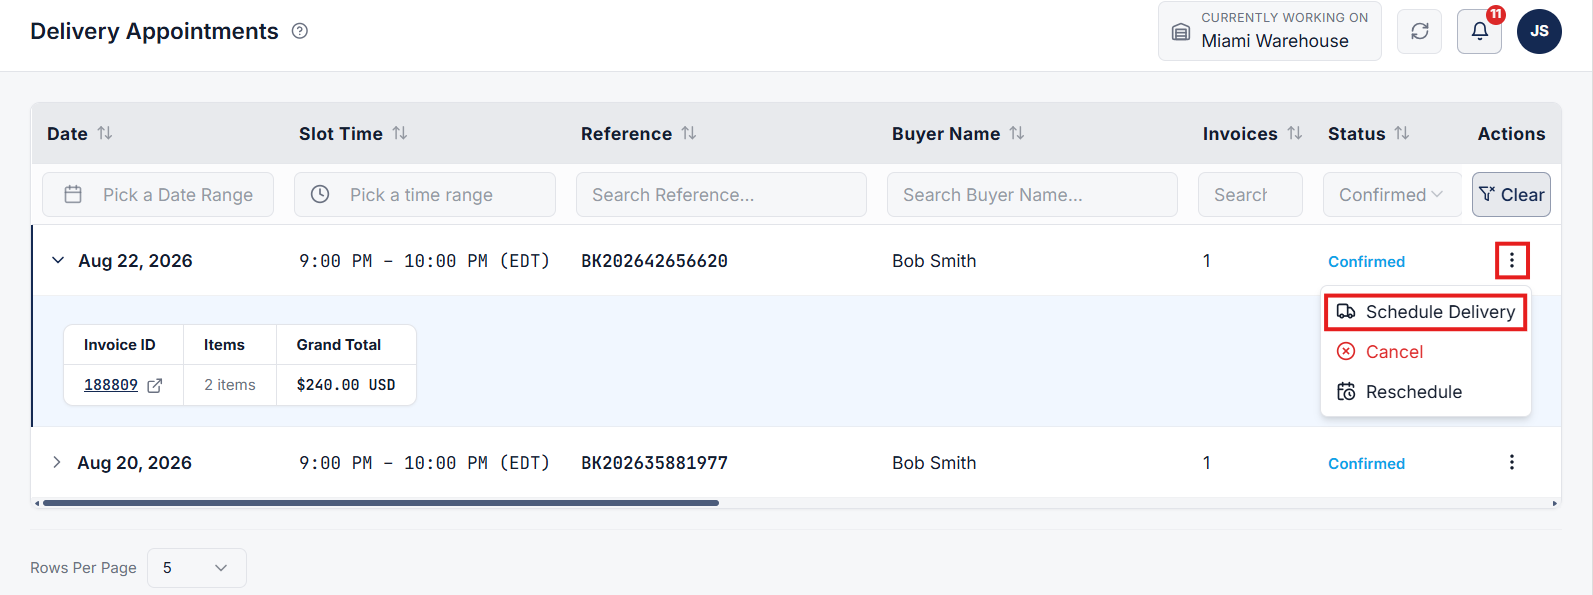
Locate the specific delivery appointment entry in the table or list.
Click on the 3 dots (action menu icon) next to the appointment record to open the available action options.
From the menu options, click on Create Delivery.
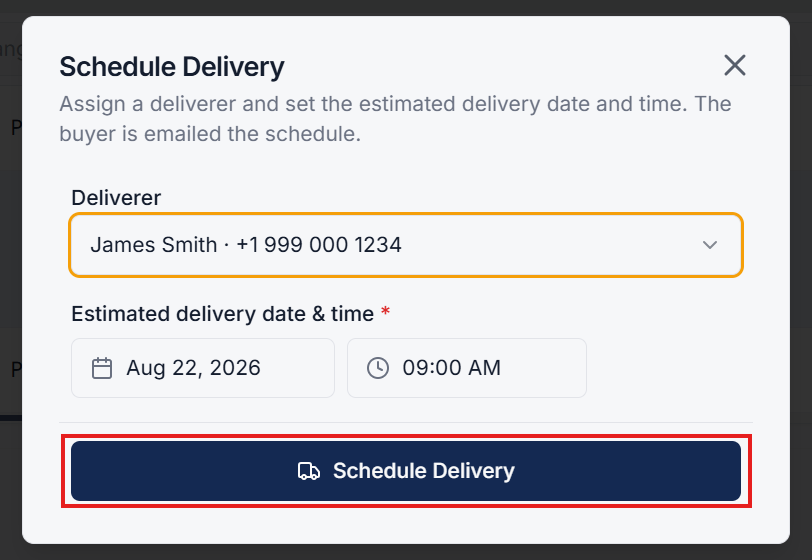
Step 4: Configure & Create Delivery
A popup modal will appear on the screen to configure the delivery details:
- Select Deliverer: Choose the assigned deliverer or delivery provider from the dropdown menu.
- Set Estimated Delivery Date & Time: Select the expected date and time for the delivery.
After entering the required details, click the Create Delivery button to finalize and assign the delivery job to the selected deliverer.