Feature spotlight
Packaging
Manage automatically assigned packaging jobs by scanning item and storage location QR codes, handling exceptions, keeping items in place, and assigning finished packages to storage locations.
Step 1: Navigate to Quick Actions & Start Packaging
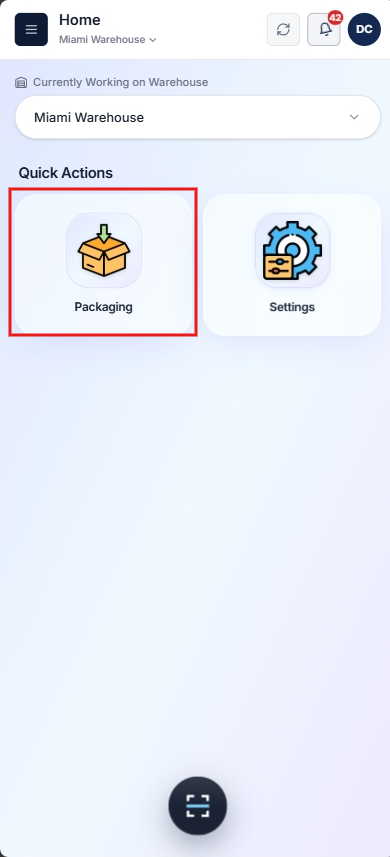
Go to the Quick Action page located under the Home section in the main navigation menu.
Click on Packaging to launch the packaging workflow and begin processing pending packaging assignments.
Step 2: Automatic Job Assignment & Priority Order
Packaging jobs are automatically assigned to the user based on priority, which is calculated from invoice urgency and associated delivery or pickup appointments.
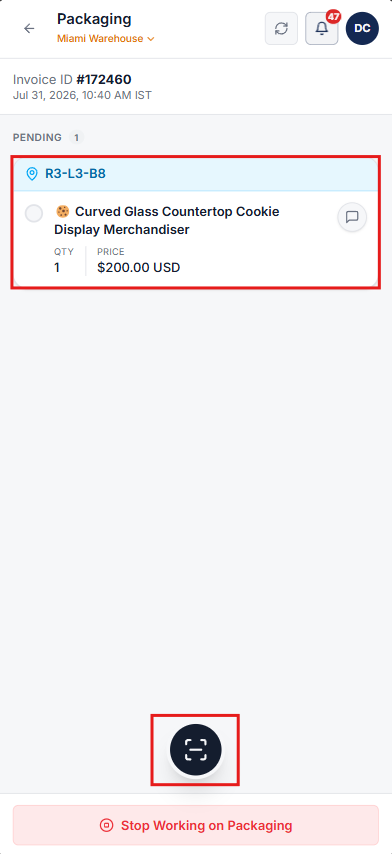
On the Packaging page, you will see your assigned jobs along with invoice IDs and item storage locations.
Step 3: Review Item List & Quantities
Once a job is assigned, inspect the full list of items required to fulfill the invoice:
- View the required Quantity of Items to pack.
- Check each item's Name and current Storage Location.
Step 4: Flag Item Exceptions & Manage Packaging Skips
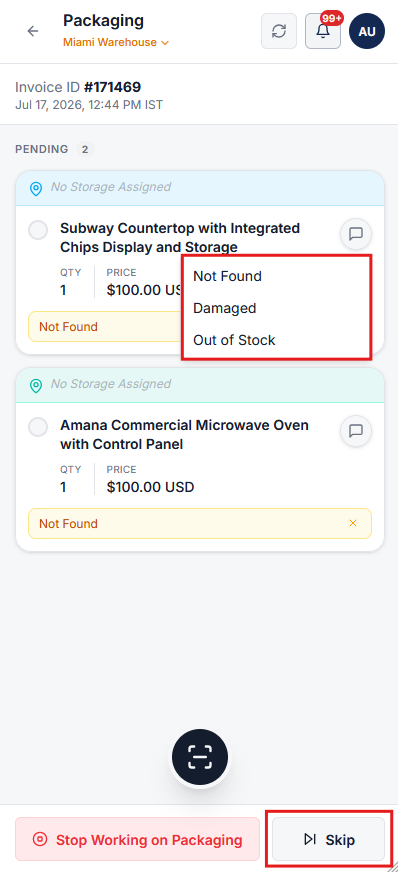
If an item cannot be packed due to inventory issues, click the comment-like icon next to it and mark it as Not Found, Damaged, or Out of Stock. Flagging an exception will set the final packaging status to Partial Packed upon completion.
Additionally, if all items in a job have exceptions or if an item's storage location is not assigned yet, you can skip the packaging job and move to the next task.
Step 5: Scan Item & Storage Location QR Codes
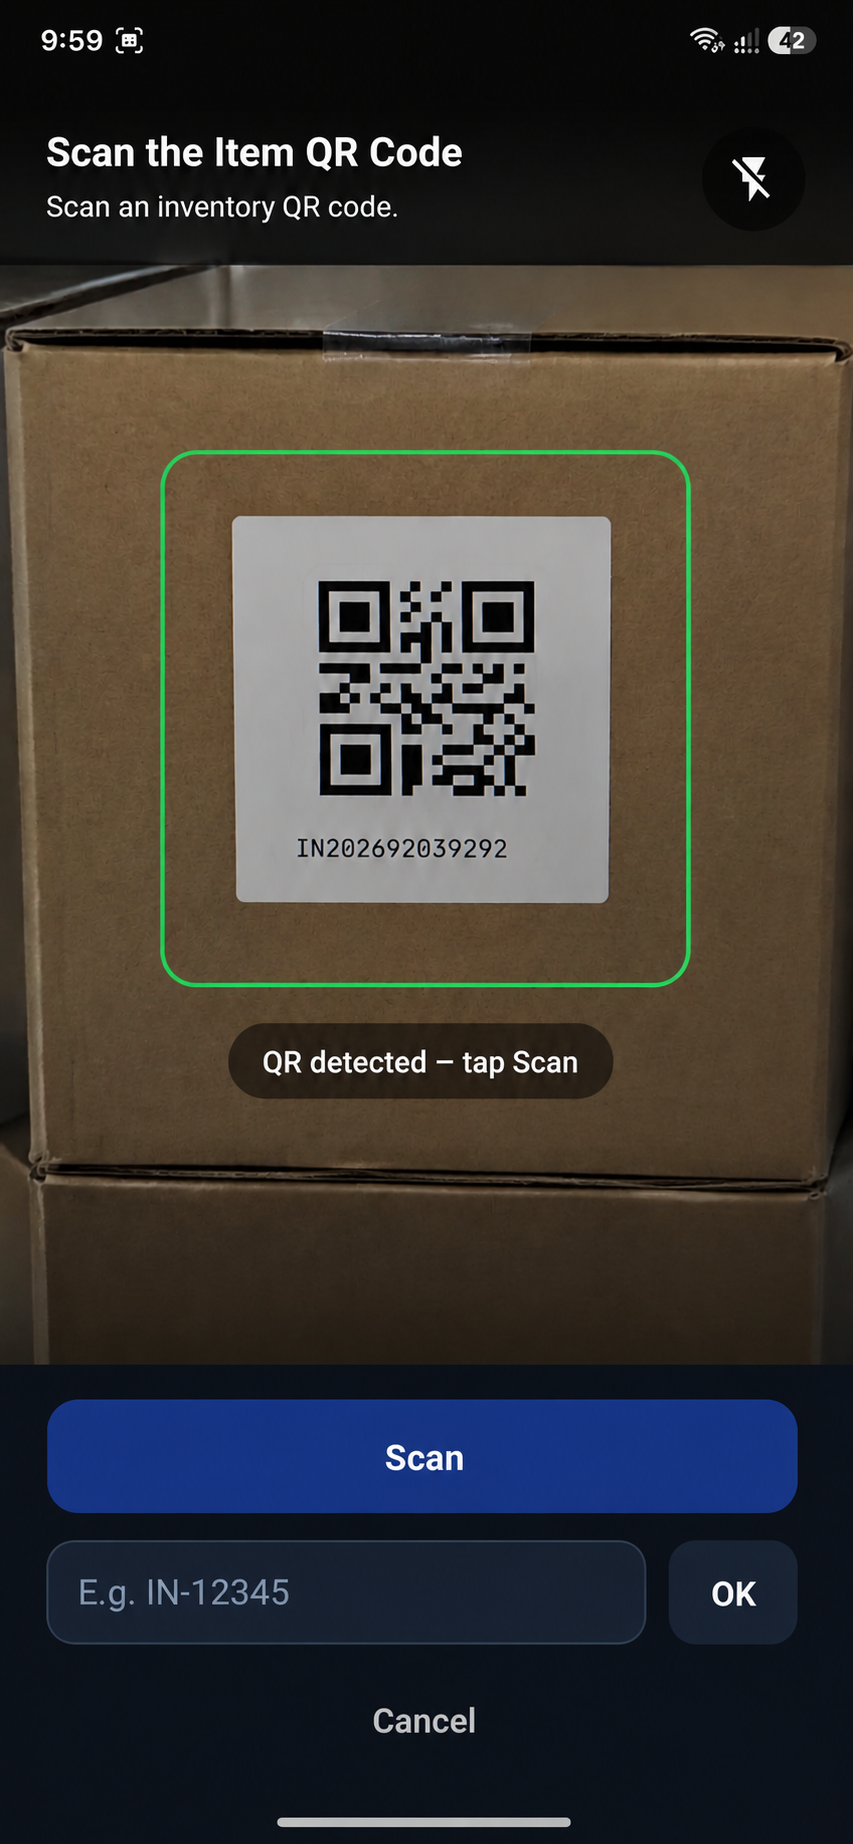
Click the Scan button to open the verification popup.
Scan the QR code printed on the physical item first, and then scan the QR code of its current storage location.
Repeat this process for all items assigned to the invoice.
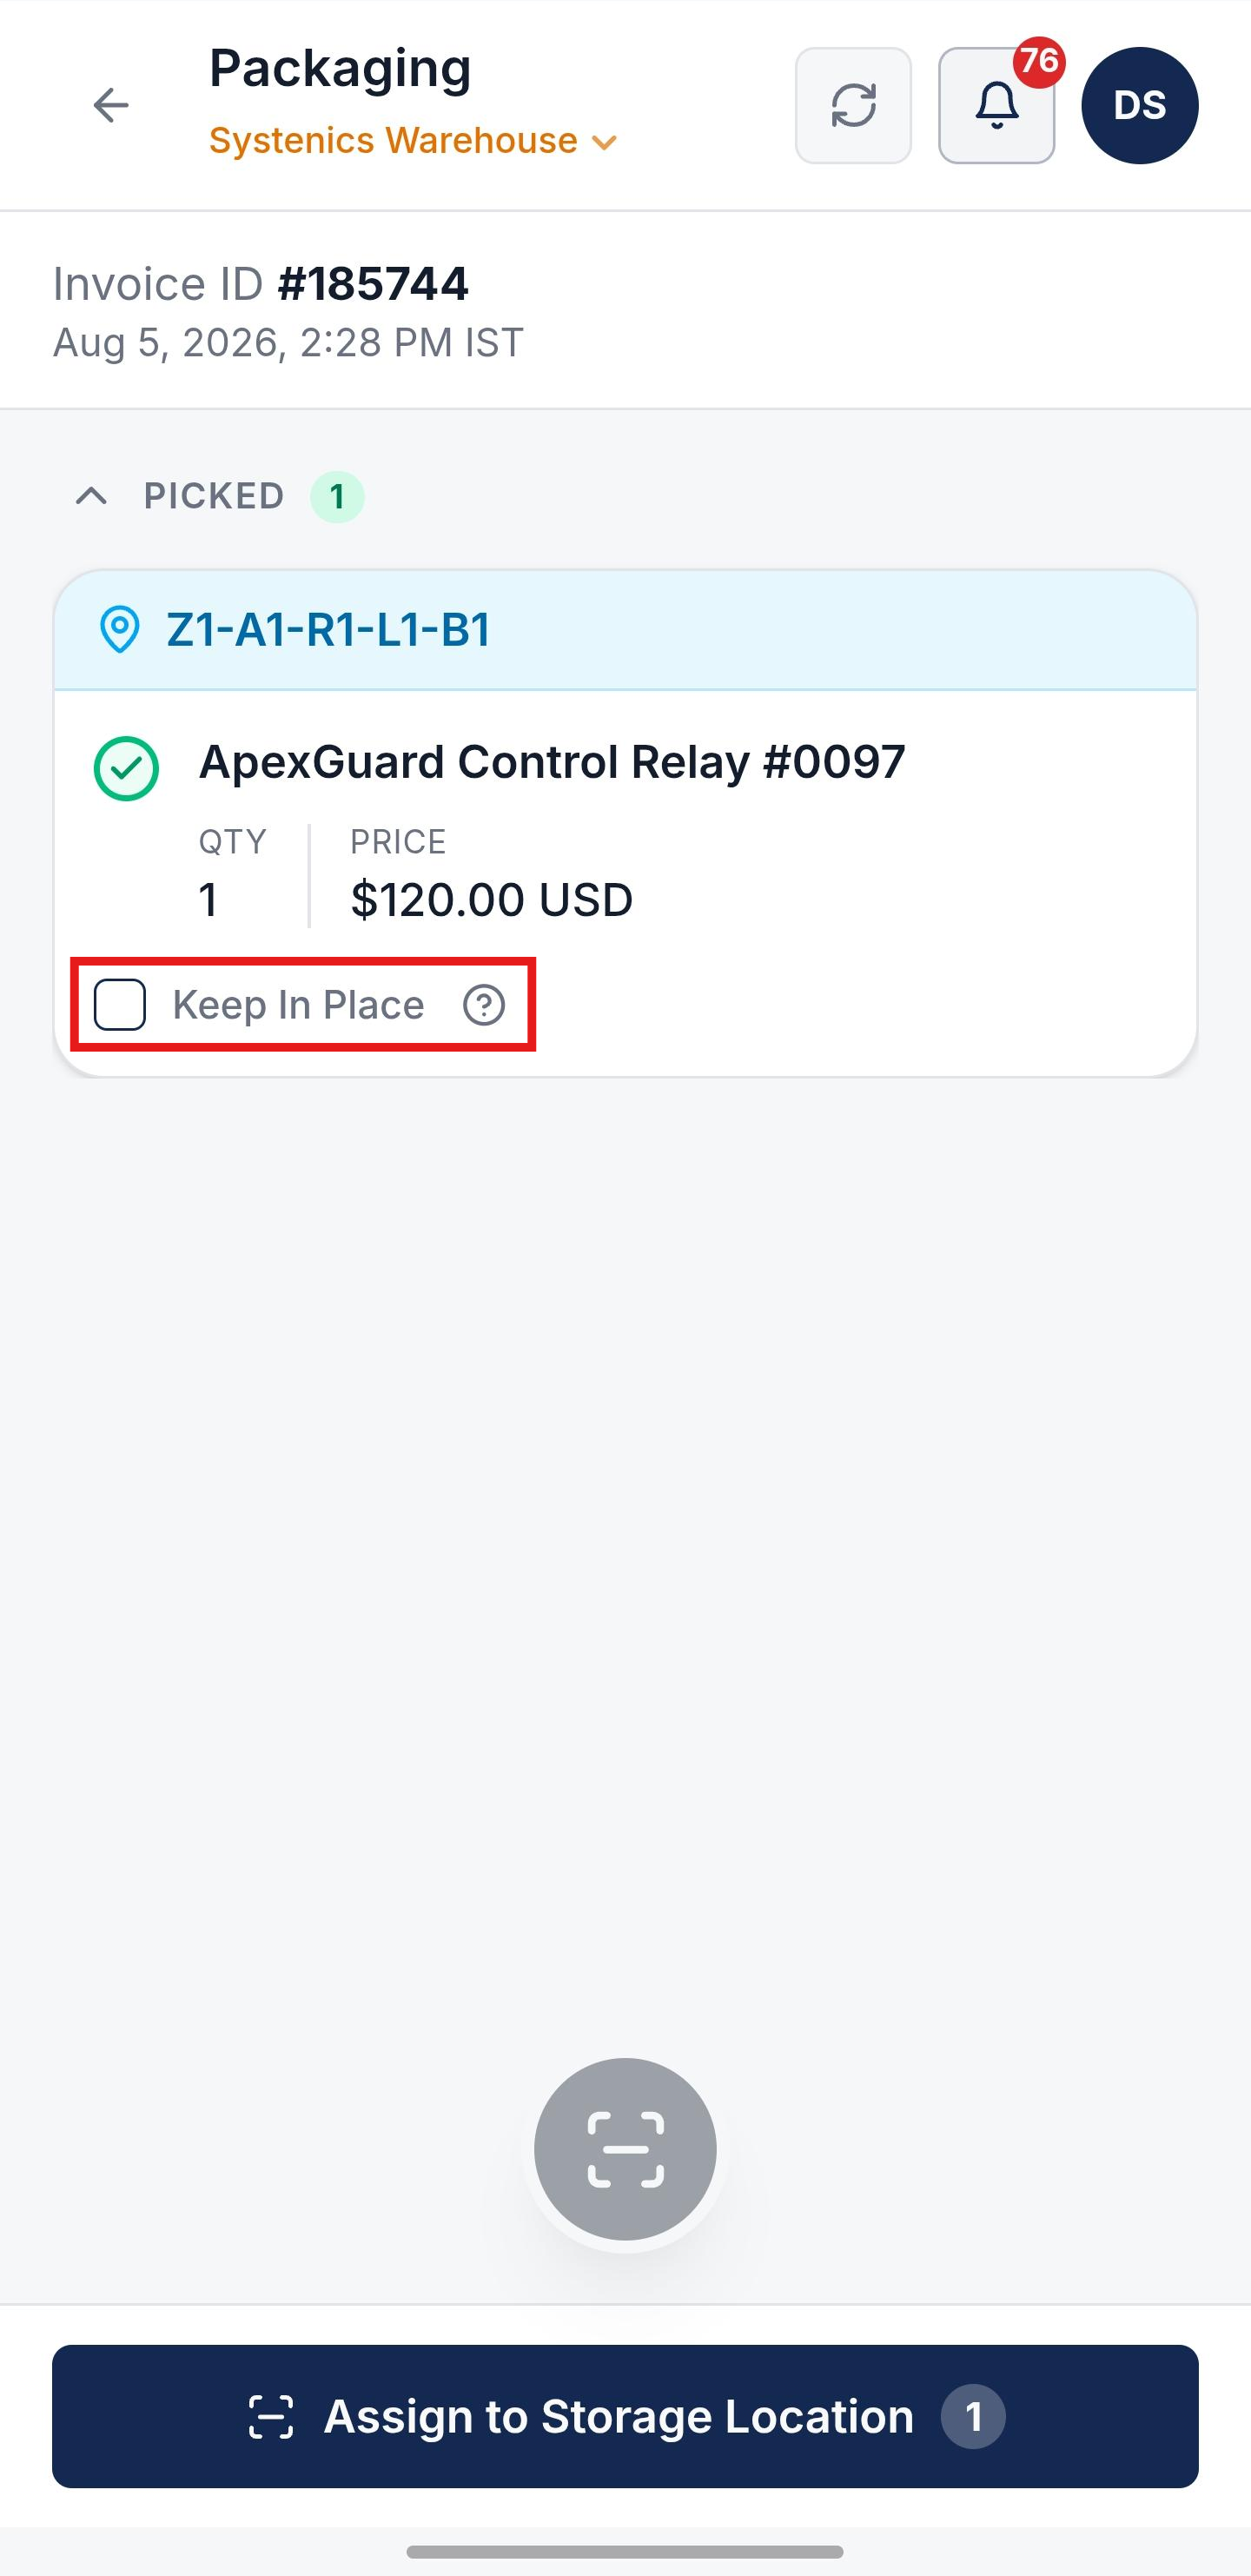
Step 6: Retain Current Storage Location (Keep in Place)
If an item should remain in its current location, select the Keep in Place checkbox.
When checked, the item stays in its currently assigned storage location and will not be moved.
Step 7: Assign to Final Storage Location & Complete Packaging
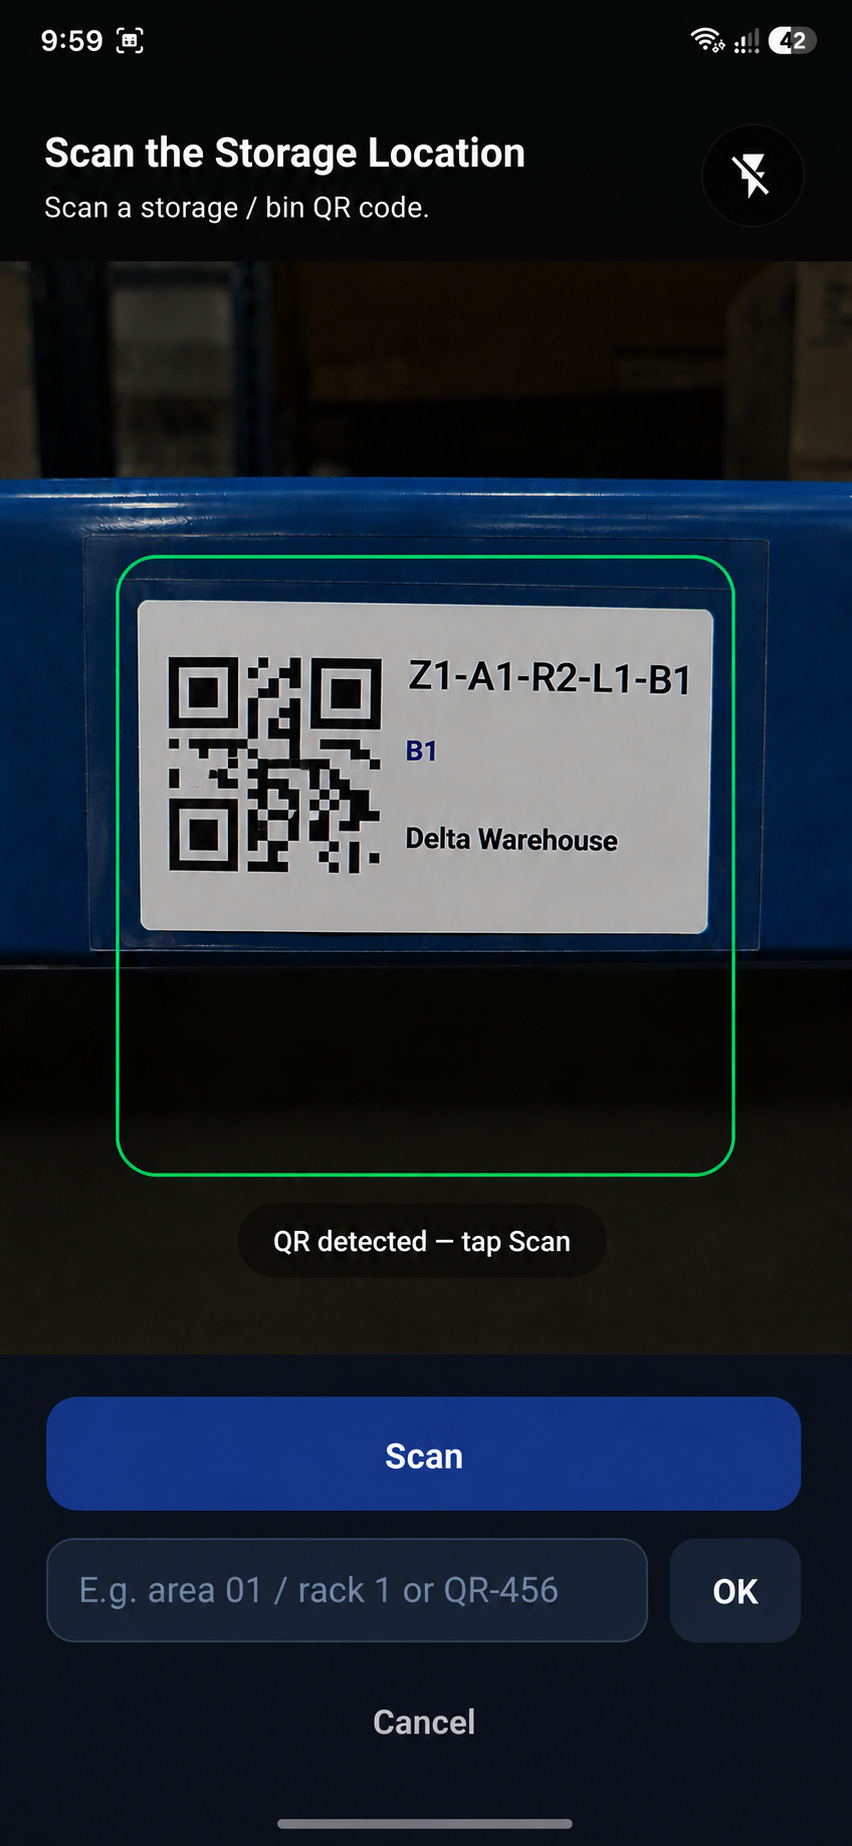
Click the Assign to Storage Location button and scan the destination storage location QR code to assign all packed items simultaneously.
Once assigned, packaging is completed for that invoice and saved automatically.
If any items were flagged with exceptions, the job is recorded as Partial Packed.
Step 8: Stop Working on Packaging
If you want to pause or exit the packaging session at any time, click the Stop Working on Packaging button to safely stop the process and return to the main dashboard.